
前言
如果也是長期在 linux 上進行開發的工程師,
相信都對 bash, zsh 等等不陌生,
但每次回到 windows 想進行類似的操作,卻又因為語法不同而非常困擾,
這次要推薦的也許是 windows 上最貼近 linux 的 terminal,
在 windows 上安裝 fluent terminal (可使用 bash, zsh)。
- 我處理完後的樣子如下 (在 windows 電腦上)
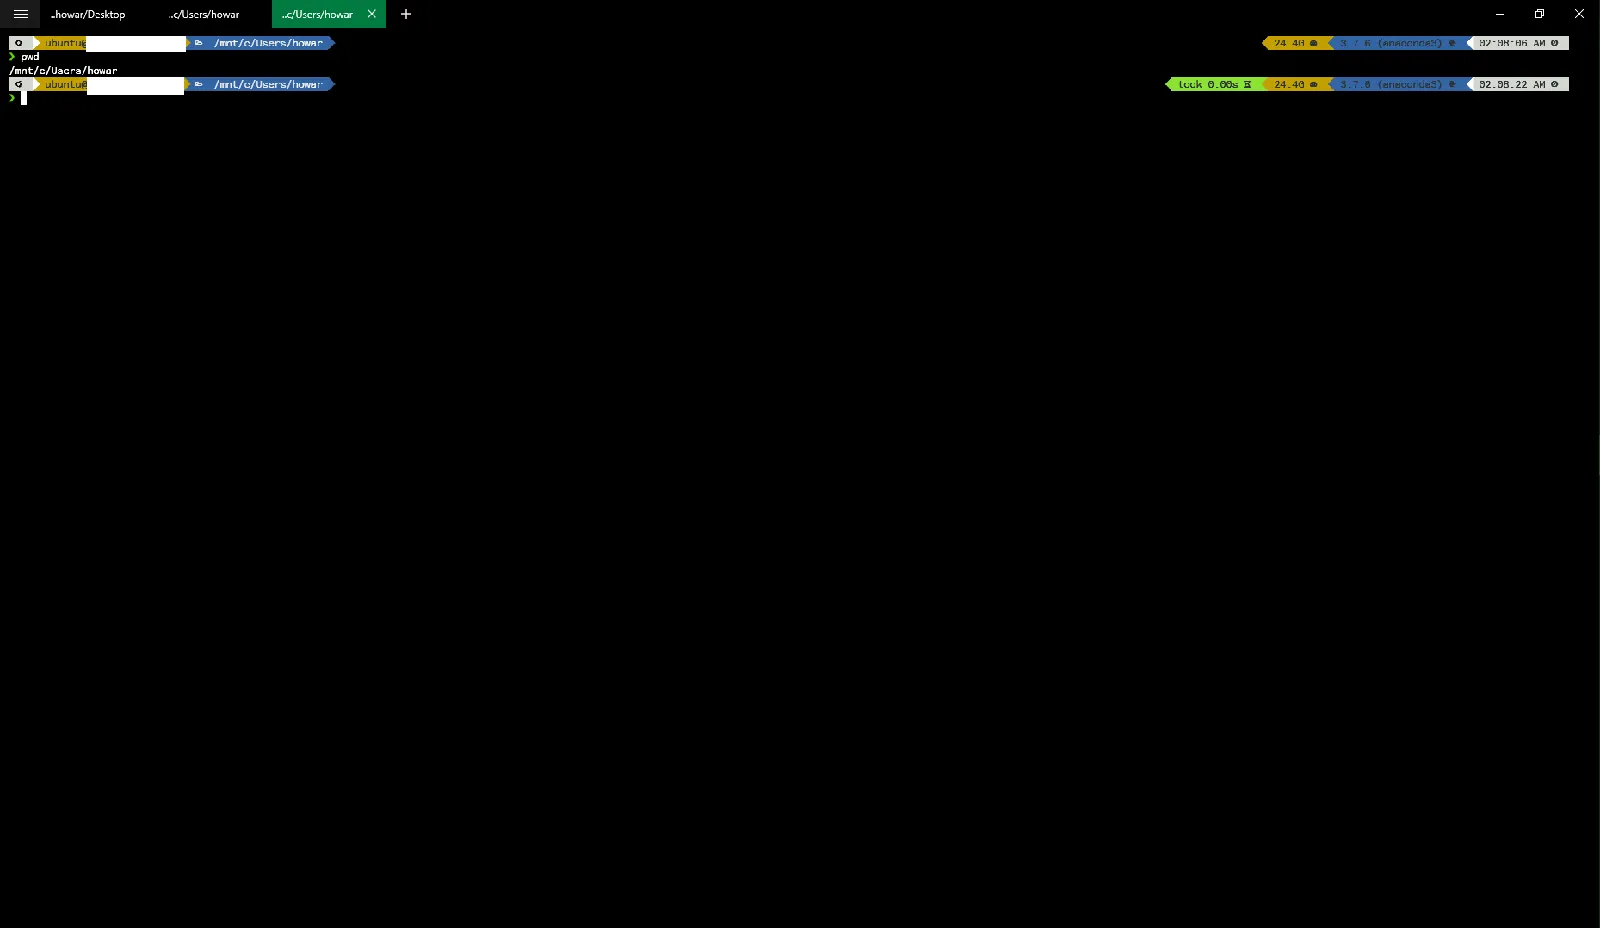
使用到目前為止簡評一下:除了 $HOME 跟想像中不太一樣之外,
其他跟 windows 都是互通的,覺得很不錯。
(windows 的指令與 linux 環境差很多,一直很不習慣)
安裝 fluent terminal
step 1. (前置作業) 在 windows 安裝 WSL (Windows Subsystem for Linux)
第一次安裝的話,打開 powershell (記得管理員權限)
Enable-WindowsOptionalFeature -Online -FeatureName Microsoft-Windows-Subsystem-Linux
這邊細節就不贅述了,在我的另外一篇文章有講到更多細節。
請參考:【Docker】在 windows 上使用安裝並使用 Docker (全圖文說明) windows 安裝 WSL (Windows Subsystem for Linux)
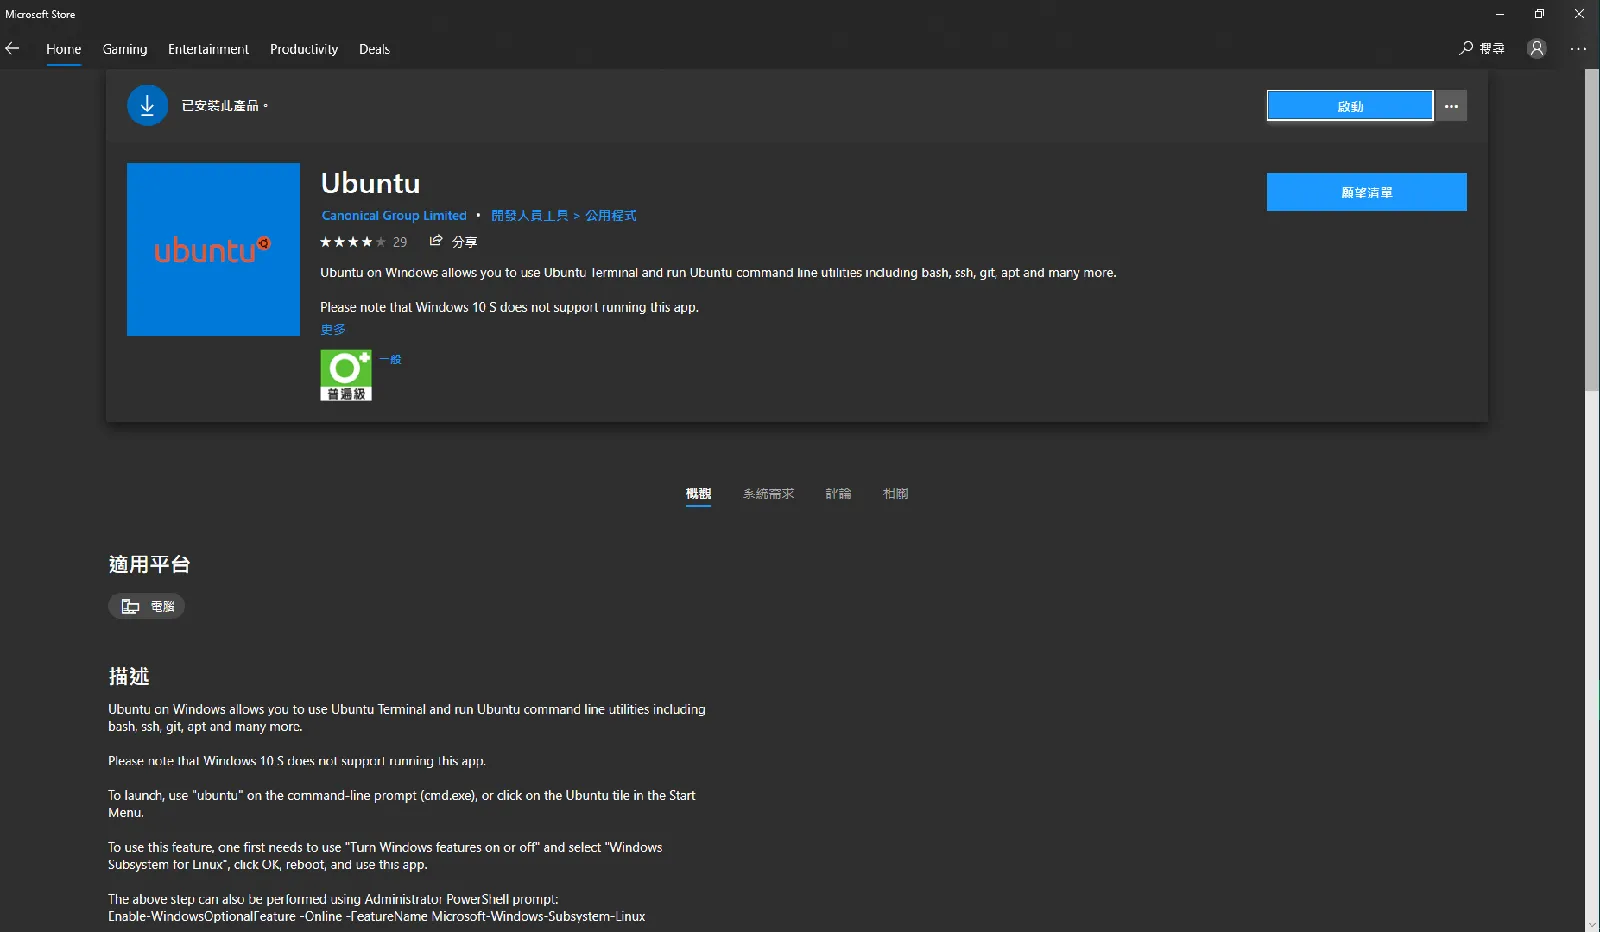
step 2. (前置作業) 準備一個 linux 環境
這邊我們可以去 Microsoft Store 找一個自己喜歡的 linux 環境,
如果不知道怎麼選就選最經典的 Ubuntu 吧!
step 3. 安裝 Chocolatey,這是一種 Windows 套件的安裝包管理器 (類似 apt)
【Docker】在 windows 上使用安裝並使用 Docker (全圖文說明) windows 安裝 WSL (Windows Subsystem for Linux)
這裡我使用 powershell 的方式安裝 (記得務必使用系統管理員)
Set-ExecutionPolicy Bypass -Scope Process -Force; iex ((New-Object System.Net.WebClient).DownloadString('https://chocolatey.org/install.ps1'))
或者也可以使用 CMD 的方式安裝 (記得務必使用系統管理員)
Set-ExecutionPolicy Bypass -Scope Process -Force; iex ((New-Object System.Net.WebClient).DownloadString('https://chocolatey.org/install.ps1'))
step 4. 使用 Chocolatey 安裝 fluent terminal
choco install fluent-terminal
fluent terminal 的一些初始設定
從上面的步驟中,我們已經安裝好 fluent terminal,
打開來後,我們需要先進行一些初始設定。
設定 terminal 為 WSL terminal
打開 fluent terminal,可以從左上角的選單中找到設定,
我們需要去修改「終端設定」裡面的選項,修改為 WSL,
並在「預設設定」那邊打勾。
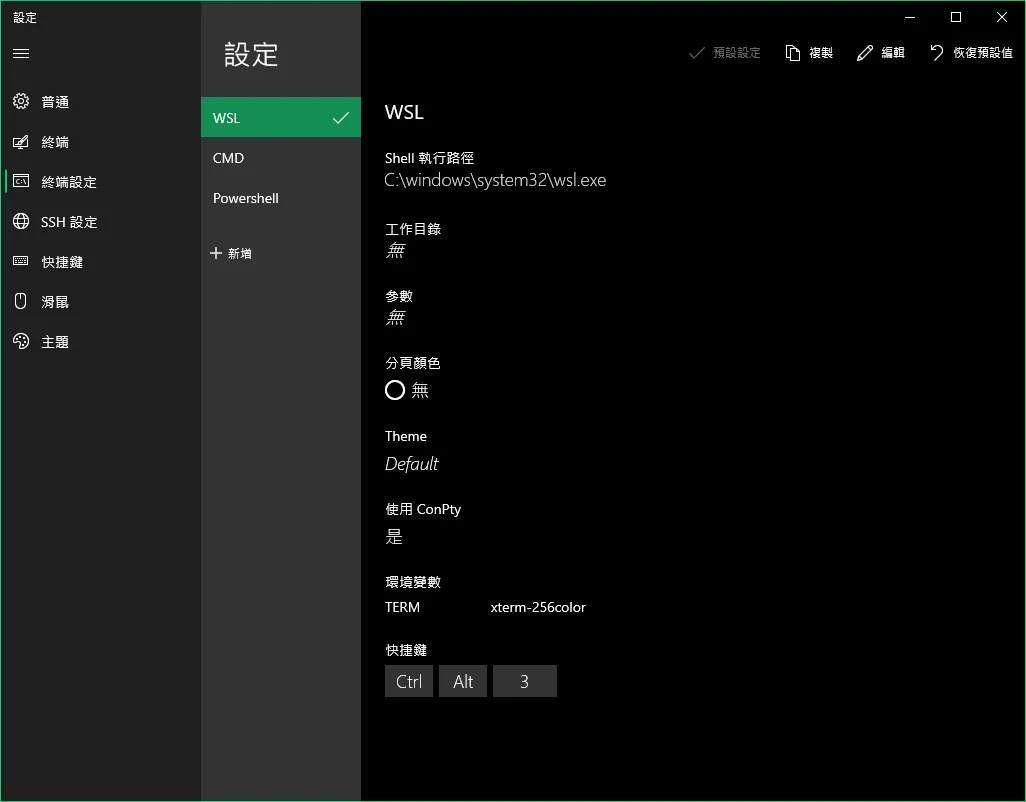
基本上,到此就已經有了一個能在 windows 執行 linux bash 的系統了。
(optional) 安裝 zsh, oh-my-zsh
安裝 zsh, oh-my-zsh
既然都已經是 linux 環境了,應該不用我們多教XD
#!/bin/bash
echo "[1/5] update system"
sudo apt-get update -y
sudo apt-get upgrade -y

echo "[2/5] install zsh"
sh -c "(wget https://raw.githubusercontent.com/robbyrussell/oh-my-zsh/master/tools/install.sh -O -)"
sudo apt-get install zsh -y

echo "[3/5] Show all current shells"
cat /etc/shells
echo $SHELL

echo "[4/5] install oh-my-zsh"
sh -c "$(wget https://raw.githubusercontent.com/robbyrussell/oh-my-zsh/master/tools/install.sh -O -)"

echo "[5/5] change default shell to zsh shell"
chsh -s /bin/zsh
到此,zsh, oh-my-zsh 應該都已經裝好了。
註:zsh 為 shell script
oh-my-zsh 為主題,如果你只想要 zsh shell 的可不用裝主題 XD
(optional) 安裝 powerlevel10k & 對應字體
安裝 powerlevel10k
#!/bin/bash
# ----- powerlevel10k theme ------ #
echo "install powerlevel10k"
git clone --depth=1 https://github.com/romkatv/powerlevel10k.git ~/powerlevel10k
echo 'source ~/powerlevel10k/powerlevel10k.zsh-theme' >>! ~/.zshrc

echo "[restart] restart zsh"
source ~/.zshrc
- 參考內容:我的另一篇文:【Linux】自動化腳本 / 安裝 zsh, oh-my-zsh, powerlevel10k
安裝 powerlevel10k 對應字體
因為 windows 原生應該是沒有 powerlevel10k 的一些特殊字元,
需要我們特別去安裝一下。
其他網站提供的下載的方式很多不能用了,另外如果將整包字體打包下載檔案也非常的巨大,因此參考其中一篇文章提供的方法,直接下載我們要的字體包。
我是安裝裡面的以下字體:
- Sauce Code Pro ExtraLight Nerd Font Complete.ttf
- Sauce Code Pro ExtraLight Nerd Font Complete Mono.ttf
設定 fluent terminal 字體
一樣去剛剛的設定裡面,找到終端,裡面第一個選擇我們剛剛安裝的字體,
我選擇的是「Sauce Code Pro ExtraLight Nerd Font Complete Mono.ttf」,
另外下面的字體大小、字體粗度(Font Widght)、字間距、半透明度,
就自己照自己喜歡改吧。

(optional) 修改 powerlevel10k 等各種設定檔 (需修改 ~/.zshrc, ~/.p10k.zsh 文件)
這邊基本上就是修改主題與介面,
懂得就自己修改成自己喜歡的樣子吧。
不懂的話… 建議是不要亂改啦,(建議做一點功課再來慢慢改)
萬一不小心改到 terminal 不能用了,也是滿麻煩的XD
echo "[optional] set ~/.zshrc (zsh settings)"
vim ~/.zshrc

echo "[optional] set ~/.p10k.zsh (powerlevel10k settings)"
cp ~/.p10k.zsh ~/.p10k.zsh.bak # backup
#p10k configure # GUI version
vim ~/.p10k.zsh

echo "[restart] restart zsh"
source ~/.zshrc
- 我修改完 ~/.p10k.zsh 後的長這樣
(optional) install zsh plugins
zsh 好用的插件,我推薦以下兩個,自動完成與自動標示指令。
因為插件的關係,下面的"$“符號會被吃掉,
如果使用指令無法順利安裝,請參考官網的安裝指南:
#!/bin/bash
# ----- install zsh plugins ------ #

echo "[optional] install Syntax Highlighting Plugin"
# doc: https://github.com/zsh-users/zsh-syntax-highlighting/blob/master/INSTALL.md
git clone https://github.com/zsh-users/zsh-syntax-highlighting.git ${ZSH_CUSTOM:-~/.oh-my-zsh/custom}/plugins/zsh-syntax-highlighting

echo "[optional] install ZSH-AutoSuggestion Plugin"
# doc: https://github.com/zsh-users/zsh-autosuggestions/blob/master/INSTALL.md
git clone https://github.com/zsh-users/zsh-autosuggestions ${ZSH_CUSTOM:-~/.oh-my-zsh/custom}/plugins/zsh-autosuggestions
設定 plugins (需修改 ~/.zshrc 文件)
在 ~/.zshrc 裡面新增 plugins=() 裡面的東東,
一樣建議不知道自己在幹嘛就不要亂改XD
echo "[optional] set ~/.zshrc to use plugins"
vim ~/.zshrc
plugins=(
git
zsh-syntax-highlighting
zsh-autosuggestions
)

echo "[restart] restart zsh"
source ~/.zshrc
(optional) 安裝 anaconda
這是我需要的,所以留在這邊
方法一:透過 wget 取得安裝腳本
bash Anaconda-latest-Linux-x86_64.sh
wget -P /tmp https://repo.anaconda.com/archive/Anaconda3-2021.05-Linux-x86_64.sh
sha256sum /tmp/Anaconda3-2021.05-Linux-x86_64.sh
bash /tmp/Anaconda3-2021.05-Linux-x86_64.sh
方法二:透過 curl 取得安裝腳本
# 安裝 anaconda
cd /tmp
sudo apt install curl -y
curl -O https://repo.anaconda.com/archive/Anaconda3-2021.05-Linux-x86_64.sh
sha256sum Anaconda3-2021.05-Linux-x86_64.sh
bash Anaconda3-2021.05-Linux-x86_64.sh
安裝 anaconda 過程中的注意事項 (注意 conda init !!!!!)
記得以上兩種安裝方式中,有個 conda init 的選項,
如果想要 terminal 預設啟動就是 conda 環境,強烈建議要選 yes !!!
(他預設給 no,但我覺得大家的習慣來說應該更希望 yes)
啊如果不小心就一直按 Enter,應該也會不小心把 conda init 的選項按成 no,
沒關係我們就自己去改,去修改 vim ~/.bashrc (或看你的 shell 也許是 ~/.zshrc)
找個地方補一下以下這段:
(記得使用者要改啊! 如果你使用者名稱不是 ubuntu,記得改成你的名稱)
# >>> conda initialize >>>
# !! Contents within this block are managed by 'conda init' !!
__conda_setup="$('/home/ubuntu/anaconda3/bin/conda' 'shell.bash' 'hook' 2> /dev/null)"
if [ $? -eq 0 ]; then
    eval "$__conda_setup"
else
    if [ -f "/home/ubuntu/anaconda3/etc/profile.d/conda.sh" ]; then
        . "/home/ubuntu/anaconda3/etc/profile.d/conda.sh"
    else
        export PATH="/home/ubuntu/anaconda3/bin:$PATH"
        # export PATH="/home/ubuntu/anaconda3/envs/mlenv/bin:$PATH"
        # set python3 as default
        # export PATH="/home/ubuntu/anaconda/envs/python3/bin:$PATH"
    fi
fi
unset __conda_setup
# conda config --set auto_activate_base false
# conda activate myenv
# <<< conda initialize <<<
(optional) 隨便建立一個測試的環境
只是測試用,可不做。
(記得要重新啟動 terminal 修改才會生效)
conda list
conda create --name myenv python=3
conda activate myenv
小結:使用到目前為止的簡評
使用到目前為止簡評一下:除了 $HOME 跟想像中不太一樣之外,
其他跟 windows 都是互通的,覺得很不錯。
(windows 的指令與 linux 環境差很多,一直很不習慣)